
调试 LeetCode 之 “一键补全头文件” 超简教程
本文 100% 亲测有效,3 步解决 #include <bits/stdc++.h> 标红、
commoncppproblem2.h找不到等 IDE 烦恼。
✨ 前置准备
- 安装 Leetcode
- 登录使用不多赘述。
- 下载「Debug LeetCode」插件
- 商店搜索 Debug LeetCode,点击 Install。
- 成功后会在侧边栏看到一个 💡 的 LeetCode 图标。
若你尚未配置本地 C/C++ 环境,可参考 官方文档 进行 GCC/Clang 安装与
C/C++扩展配置。
🚀 三步搞定自动补全头文件
| 步骤 | 操作 | 截图 |
|---|---|---|
| Step 1 | 打开任意 LeetCode 题目,点击顶部的 Debug 按钮 | 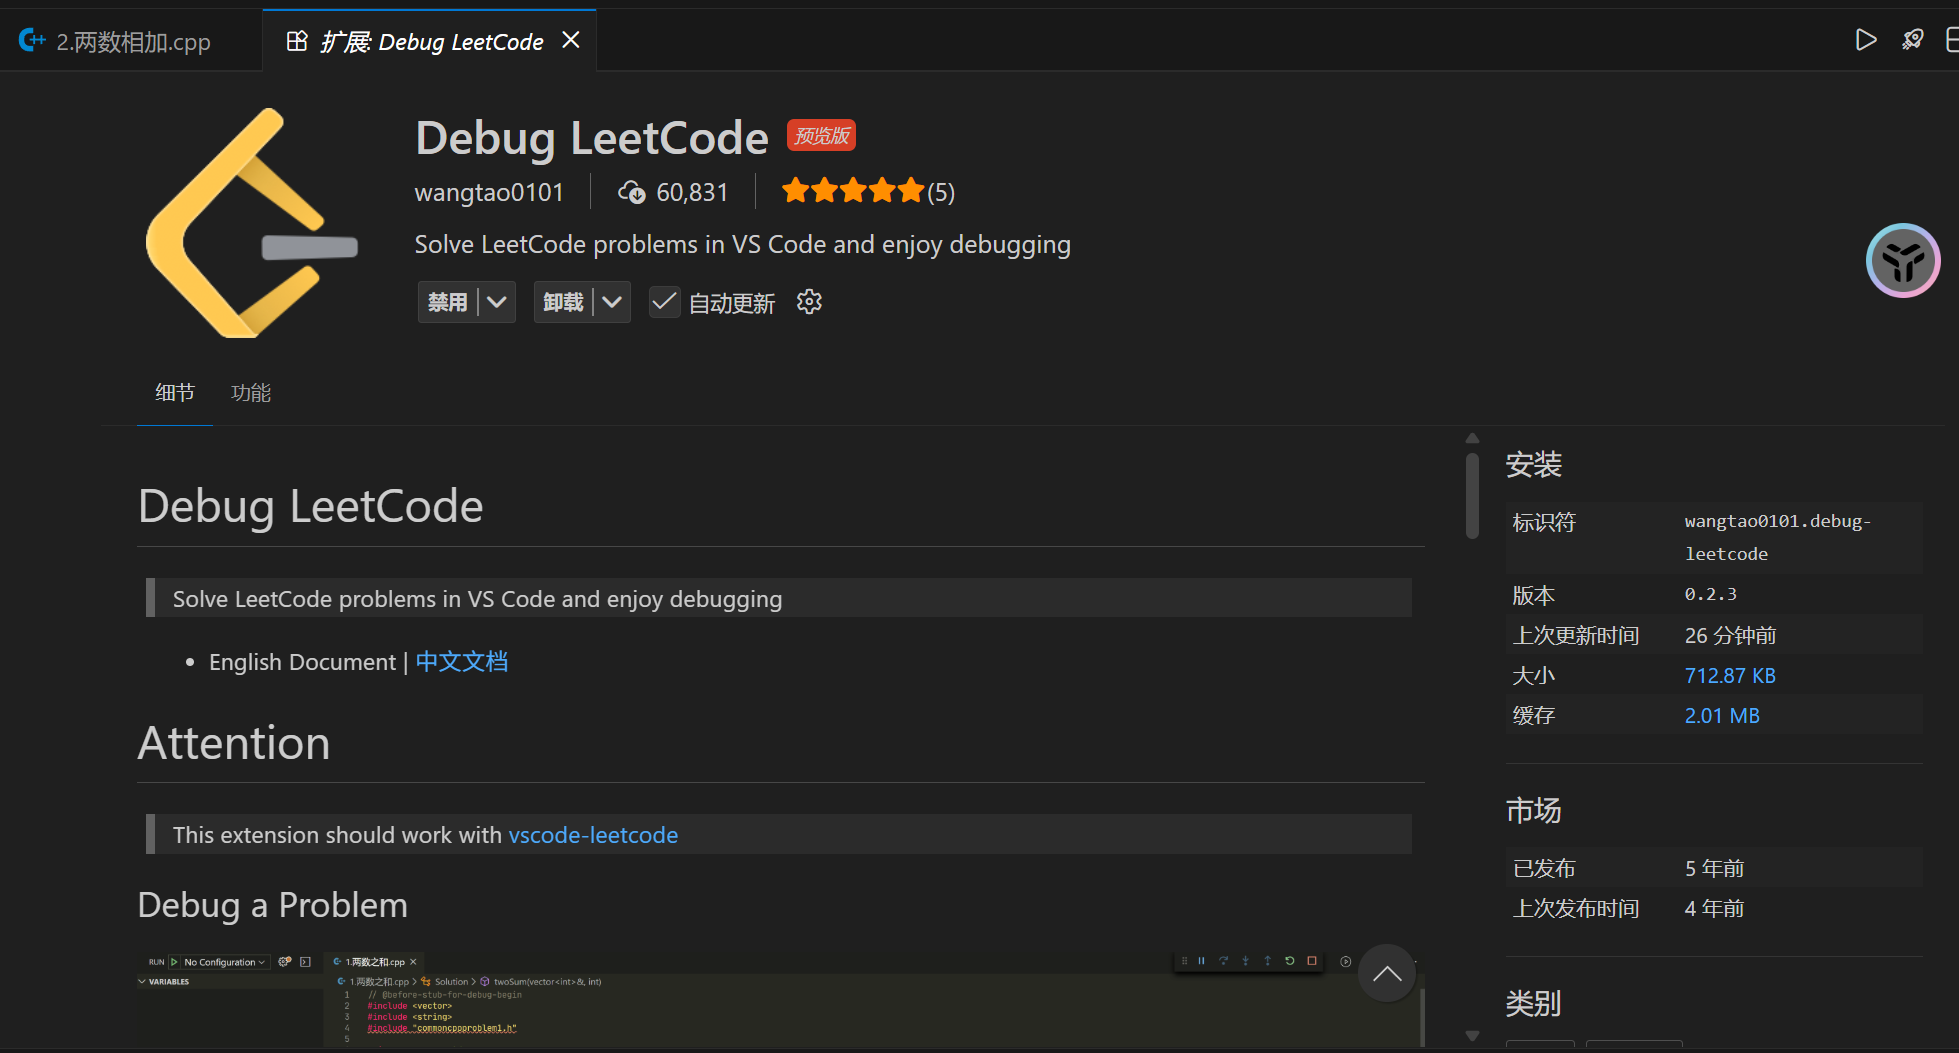 |
| Step 2 | 首次运行时插件会 自动生成 main.cpp,并把缺失的系统头文件一次性补齐 | 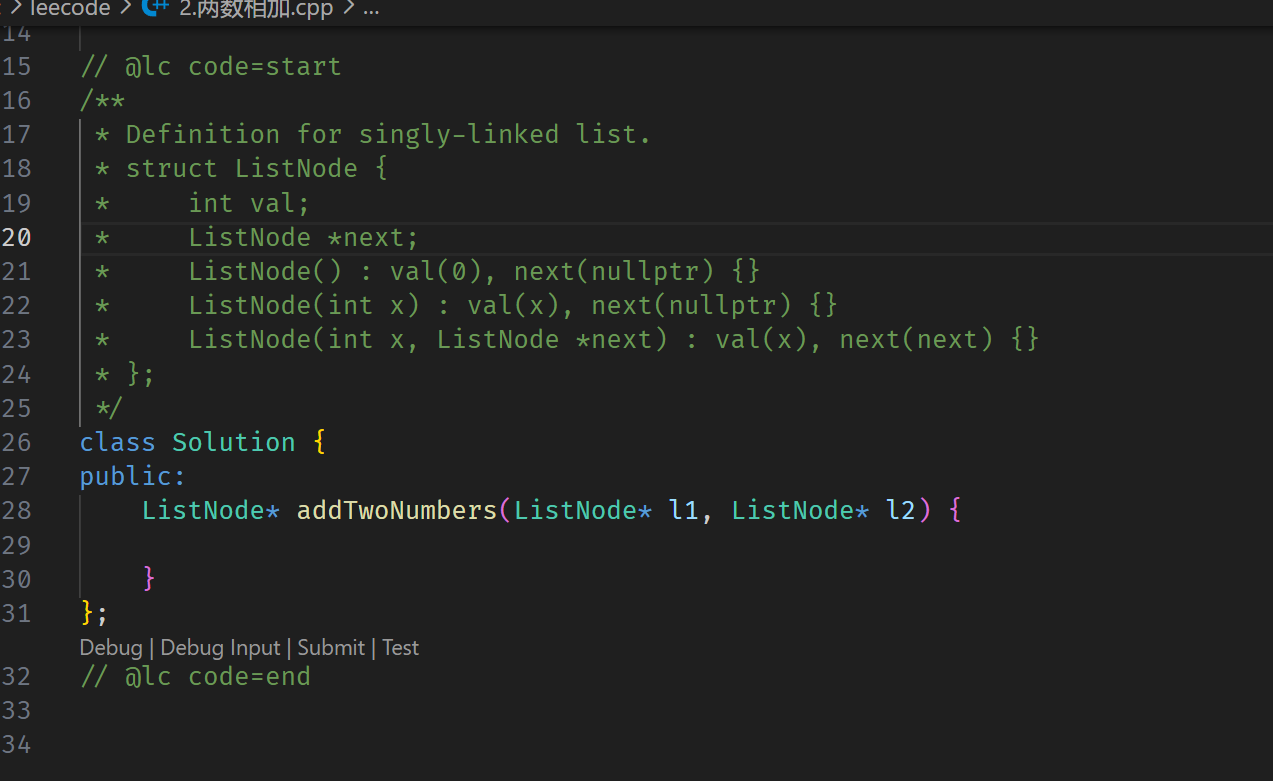 |
| Step 3 | 若仍出现 #include "commoncppproblem2.h" 的红色波浪线 —— 添加 include path 即可 |
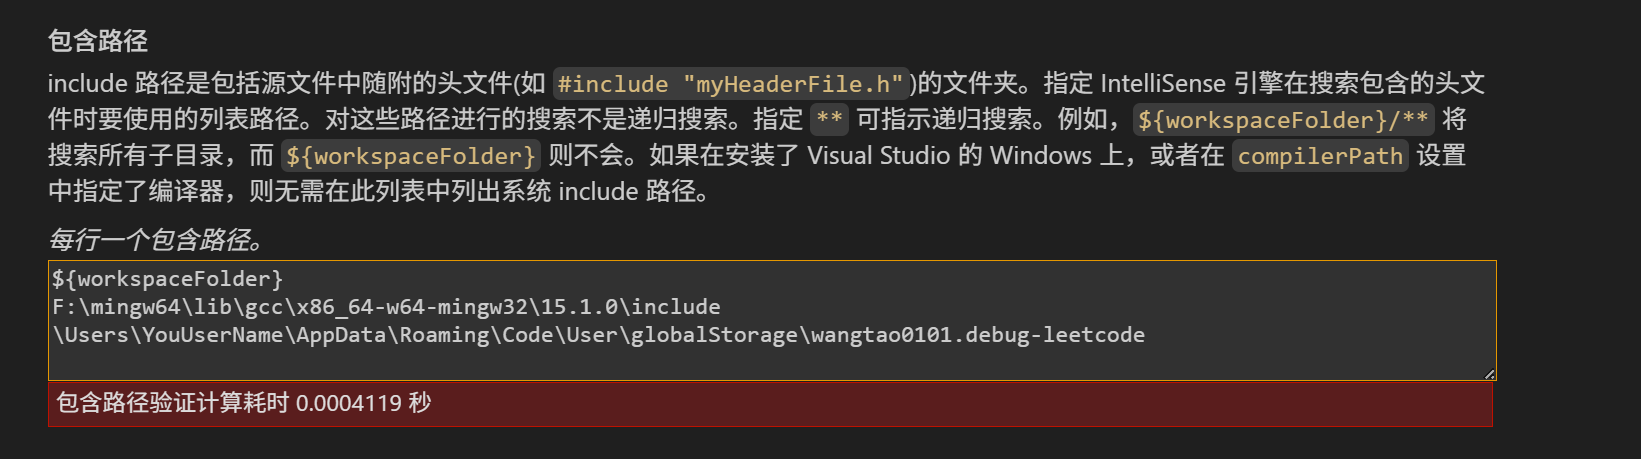 |
如何添加 include path?
- 打开命令面板
Ctrl+Shift+P→ 输入并选择 C/C++: Edit Configurations (UI) - 在 Include path 中追加下列目录(替换成你自己的用户名):
1 | C:\Users\<YourUserName>\AppData\Roaming\Code\User\globalStorage\wangtao0101.debug-leetcode |
至此,调试环境完美启用!
本博客所有文章除特别声明外,均采用 CC BY-NC-SA 4.0 许可协议。转载请注明来源 Can you fell my world!
评论